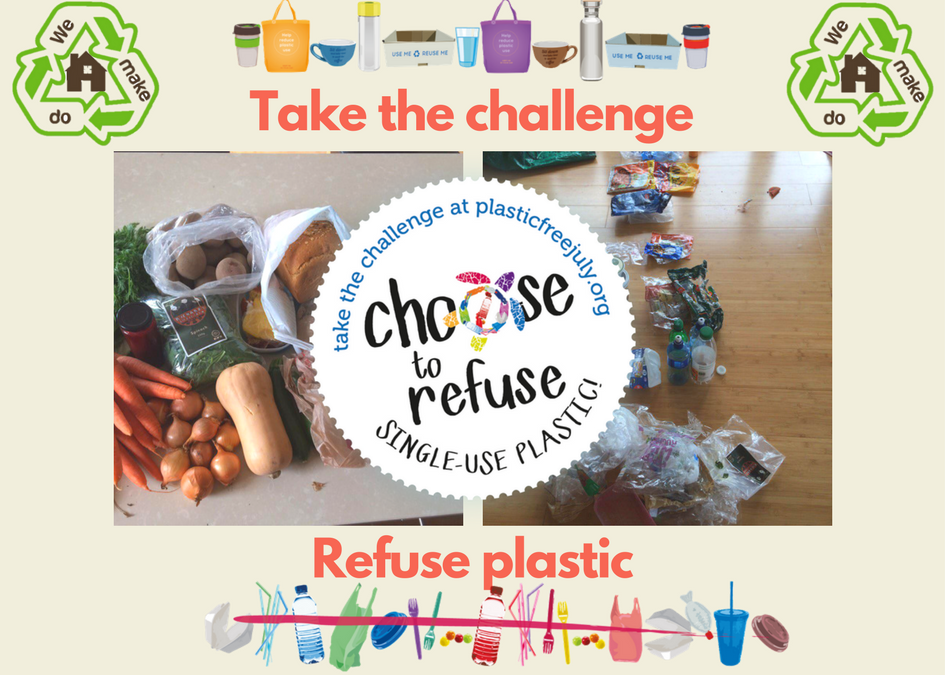
Plastic Free July Again
It’s been a year since we dabbled in Plastic Free July 2016 and now it’s upon us again.We’re happy to say that we have more enthusiasm to try it out again this year and are already well positioned in that many of our plastic-free habits have stayed with us since last year.
The biggest difference for us this year has been in going with a local fruit and veg seller who manages to remove all the packaging from his produce and will deliver to our home weekly. The other change we made is that we can purchase from a wholesale bulk foods distributor based in Macroom (http://www.iihealthfoods.com/) who carries everything you could want in large quantities.
For our first trial run, we bought:
25Kg of porridge oats (in a paper sack), 25Kg of puy lentils, 25Kg of red lentils, 25Kg or brown rice, 20kg of raisins
This is just an experiment to see how well the stuff holds and how long it lasts. In some cases, the cost savings are not much, but the reduced packaging and time spent purchasing seem well worth the effort. We are also still buying bulk nuts from www.nutsinbulk.ie, although haven’t convinced those guys to try removing the plastic from their supplies.
Sigh…only to have a bulk food store locally…we think this would really work as a business, but so far it hasn’t happened yet as far as we know.
This year rather than just try harder to keep the single-use plastic out of the house, we are setting a couple of specific goals for ourselves during the month.
- Get self-sufficient on milk alternatives
- Find other options for laundry detergent and toothpaste
As we have moved away mostly but not completely from cow’s milk, for health reasons, we have started buying more and more of the expensive non-dairy options, such as soya milk, almond milk, coconut milk, rice milk, oat milk, and my personal favorite, a coconut and almond milk blend. Lots of options to choose from and they are quite expensive to buy (€2 to €2.6 per litre), not to mention all the tetra packaging that goes with them.
What’s more shocking about these milk alternatives, is that many of them use minuscule amounts of the main ingredient (2-5%!!) and most of what you are buying is water with some sweetener and stabilizers added. Once you spot this on the pack ingredients, the idea of making you own is a lot more palatable.
And none of them are hard to make, although they can be a little time consuming. But in each case we’ve tried so far, they taste better than the store-bought options.
We opted for an easy start with coconut milk. Our first experiment used a can of light coconut milk we happened to have. One recipe looked particularly simple and called for just diluting a can with 2 cans of water and adding salt and vanilla flavoring to taste. It was quite palatable – certainly no worse than the market bought versions. The preferred method for this is to soak shredded coconut, rather than starting with the canned milk, which tends to have water and other stuff added to start with.
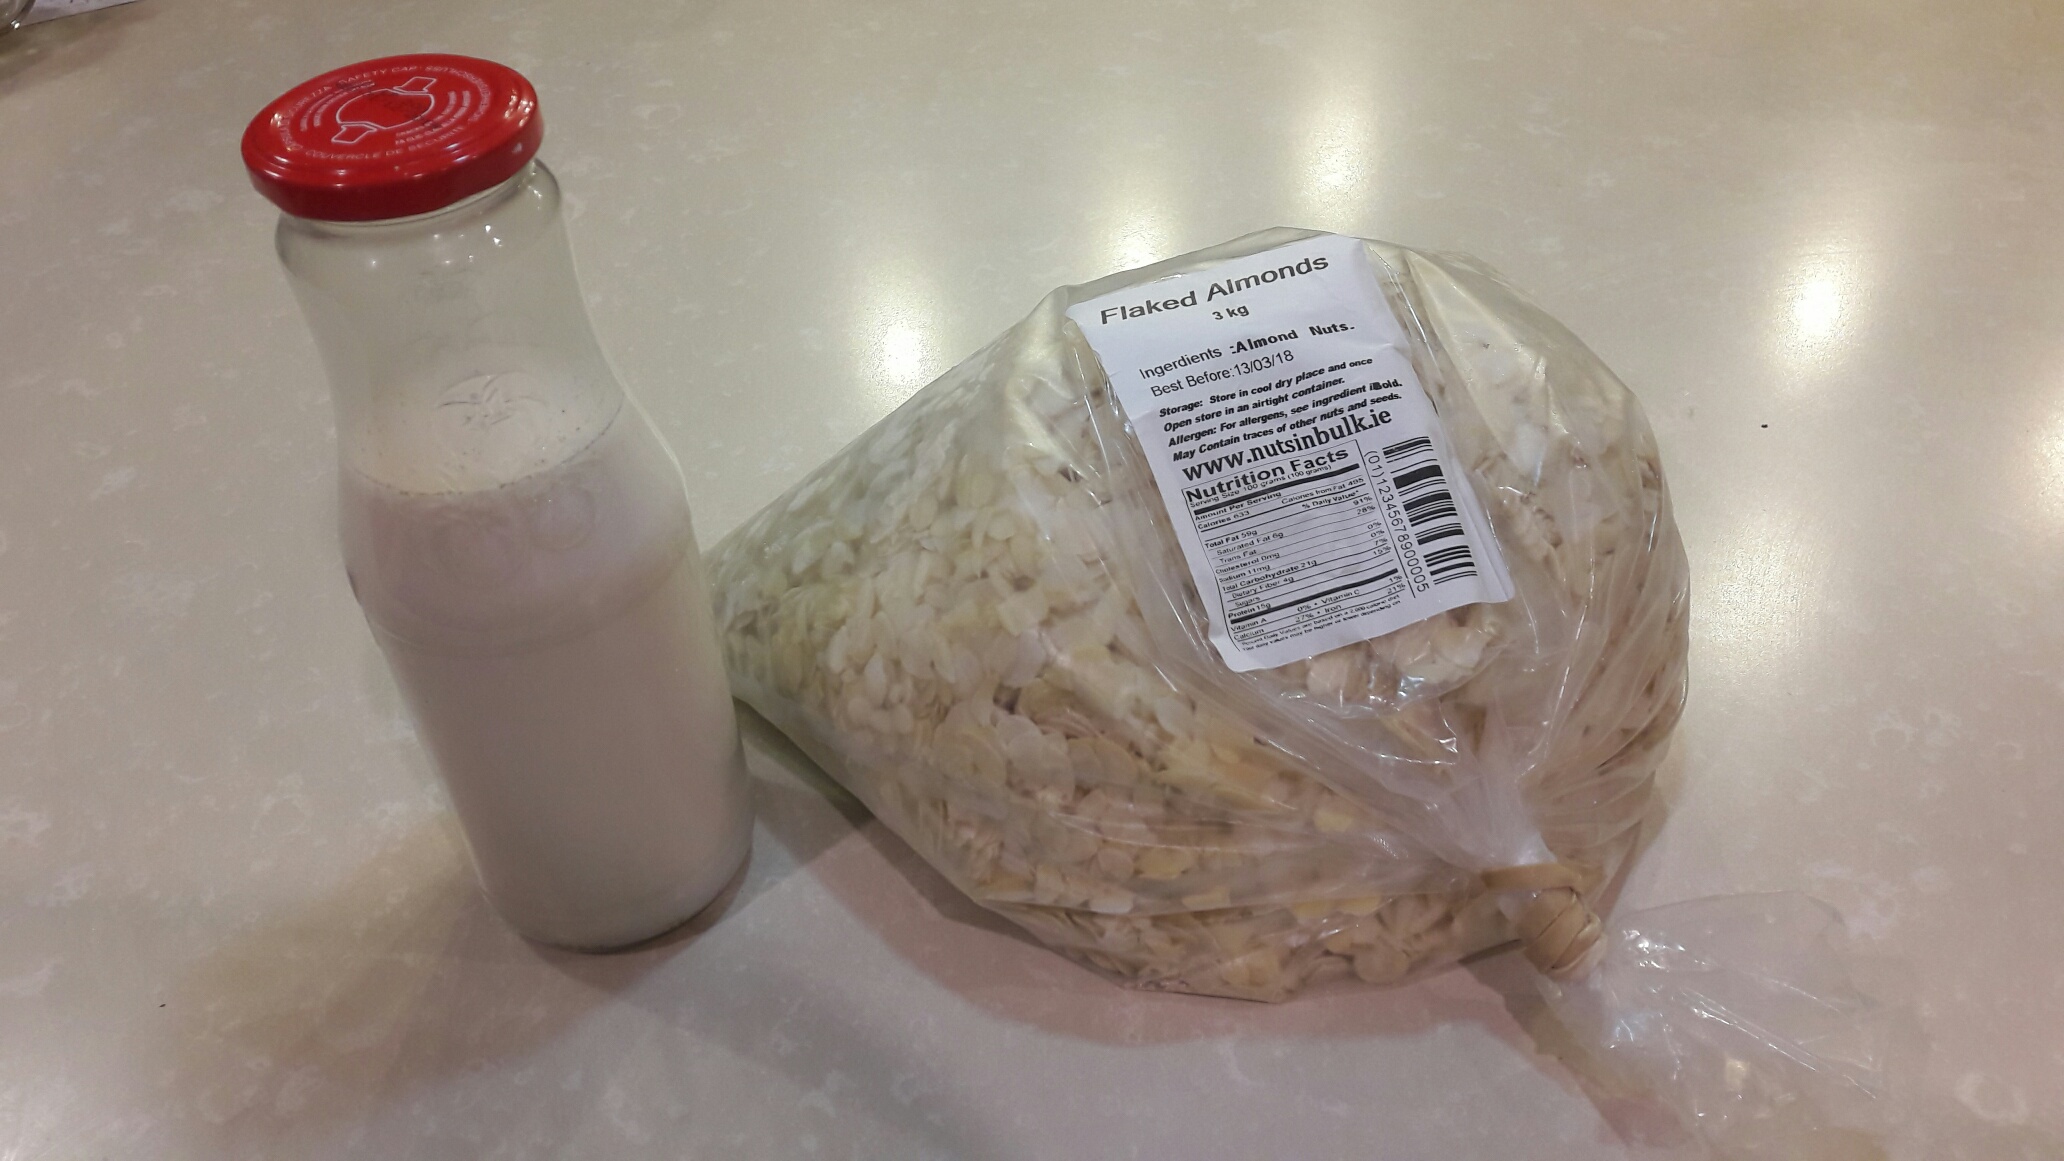 Then we tried almond milk – letting a cup of almonds sit for 2 days in the fridge in water to allow them to soak and release an acid that is best removed. Then they were drained and rinsed, fresh water was added (2 cups for 1 cup of nuts) and blended at high speed. Some sweeteners of choice can be added to flavor, such as honey, vanilla or even dates blended in. This one worked really well and got the thumbs up from the kids.
The coconut milk didn’t get much support, but then neither did the shop bought stuff either.
Rice milk is a little more time consuming to make. It requires you to boil the rice in advance and then use the rice to blend with water. Then add vanilla or cinnamon to taste as usual. Not that hard and quite tasty too.
For now we’re going with almond milk in quantity to see if we can get into the habit of making do with it. Apparently it should last for a few days in the fridge, so reasonably sized batches will work
For our #2 goal this time round, we recently attended a “Zero Waste” event in Dublin and managed to source some options for laundry detergent and toothpaste. The detergent is apparently condensed soap shavings which can be used to dilute into detergent of varying strength. Rather ambitiously, the two jars (reused also) we bought should apparently last for a year. We’re a little skeptical but getting ready to try it out.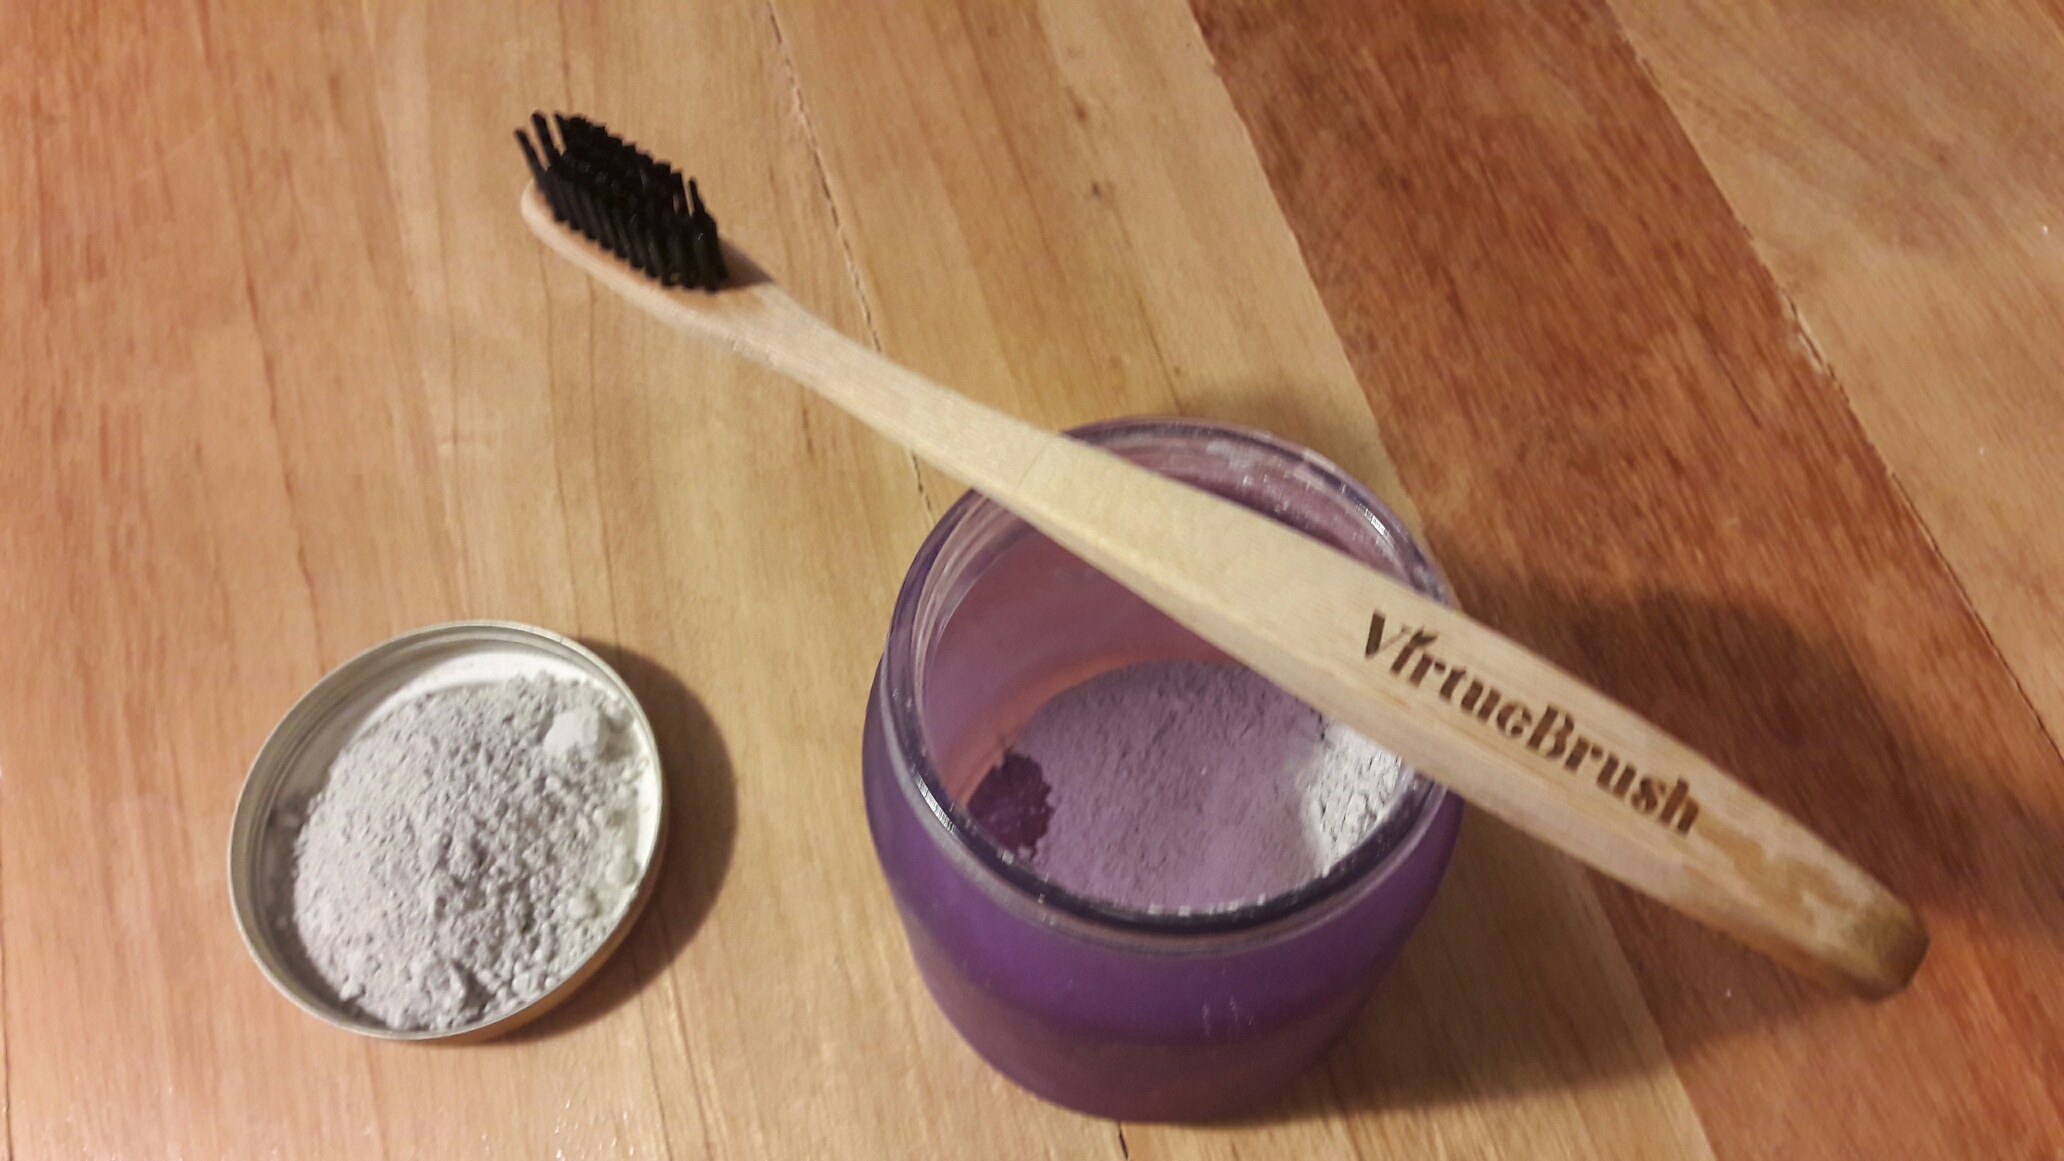
For the toothpaste, we bought some dry powdery “stuff” – a sort of clay with all sorts of healthy things added in apparently. I think its Bentonite clay – at least I hope it is – which has excellent absorbing properties, presumably absorbing stuff that you don’t want on your teeth. The idea is to add a little powder to the wet toothbrush and the particles of clay will do the cleaning job as you scrub without damaging tooth enamel. The other natural ingredients serve to fight bacteria. So far we have noticed that one’s teeth do feel very clean after using it, but I for one miss that minty fresh taste you get from standard pastes. The jury is still out on this stuff for now – one for and one against.
So we have mostly removed the plastic from our food supplies by now, but WOW does it spread around the house through other means when you’re not paying attention! Having children makes this so much harder as much of what seems to come their way is made of plastic and has a very short lifespan.
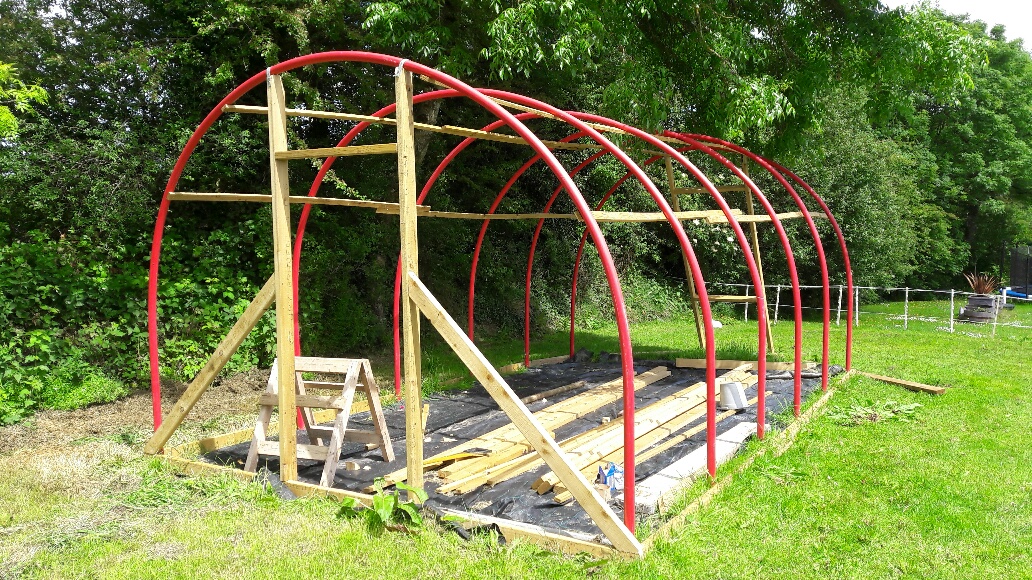
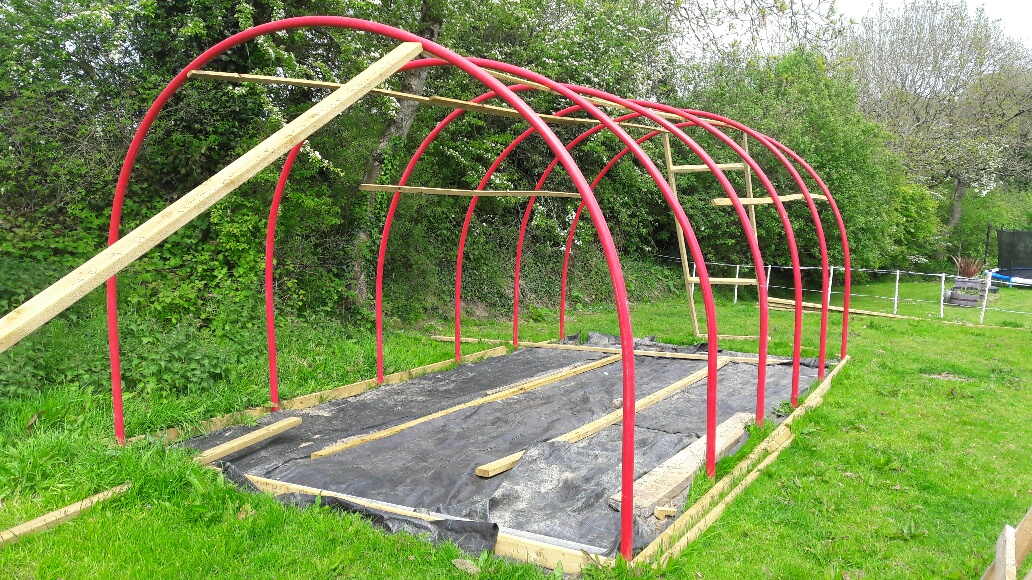
Also, changing topics, our Poly-tunnel is finally up and running now so we’ll let you know how that’s working out in the next update.