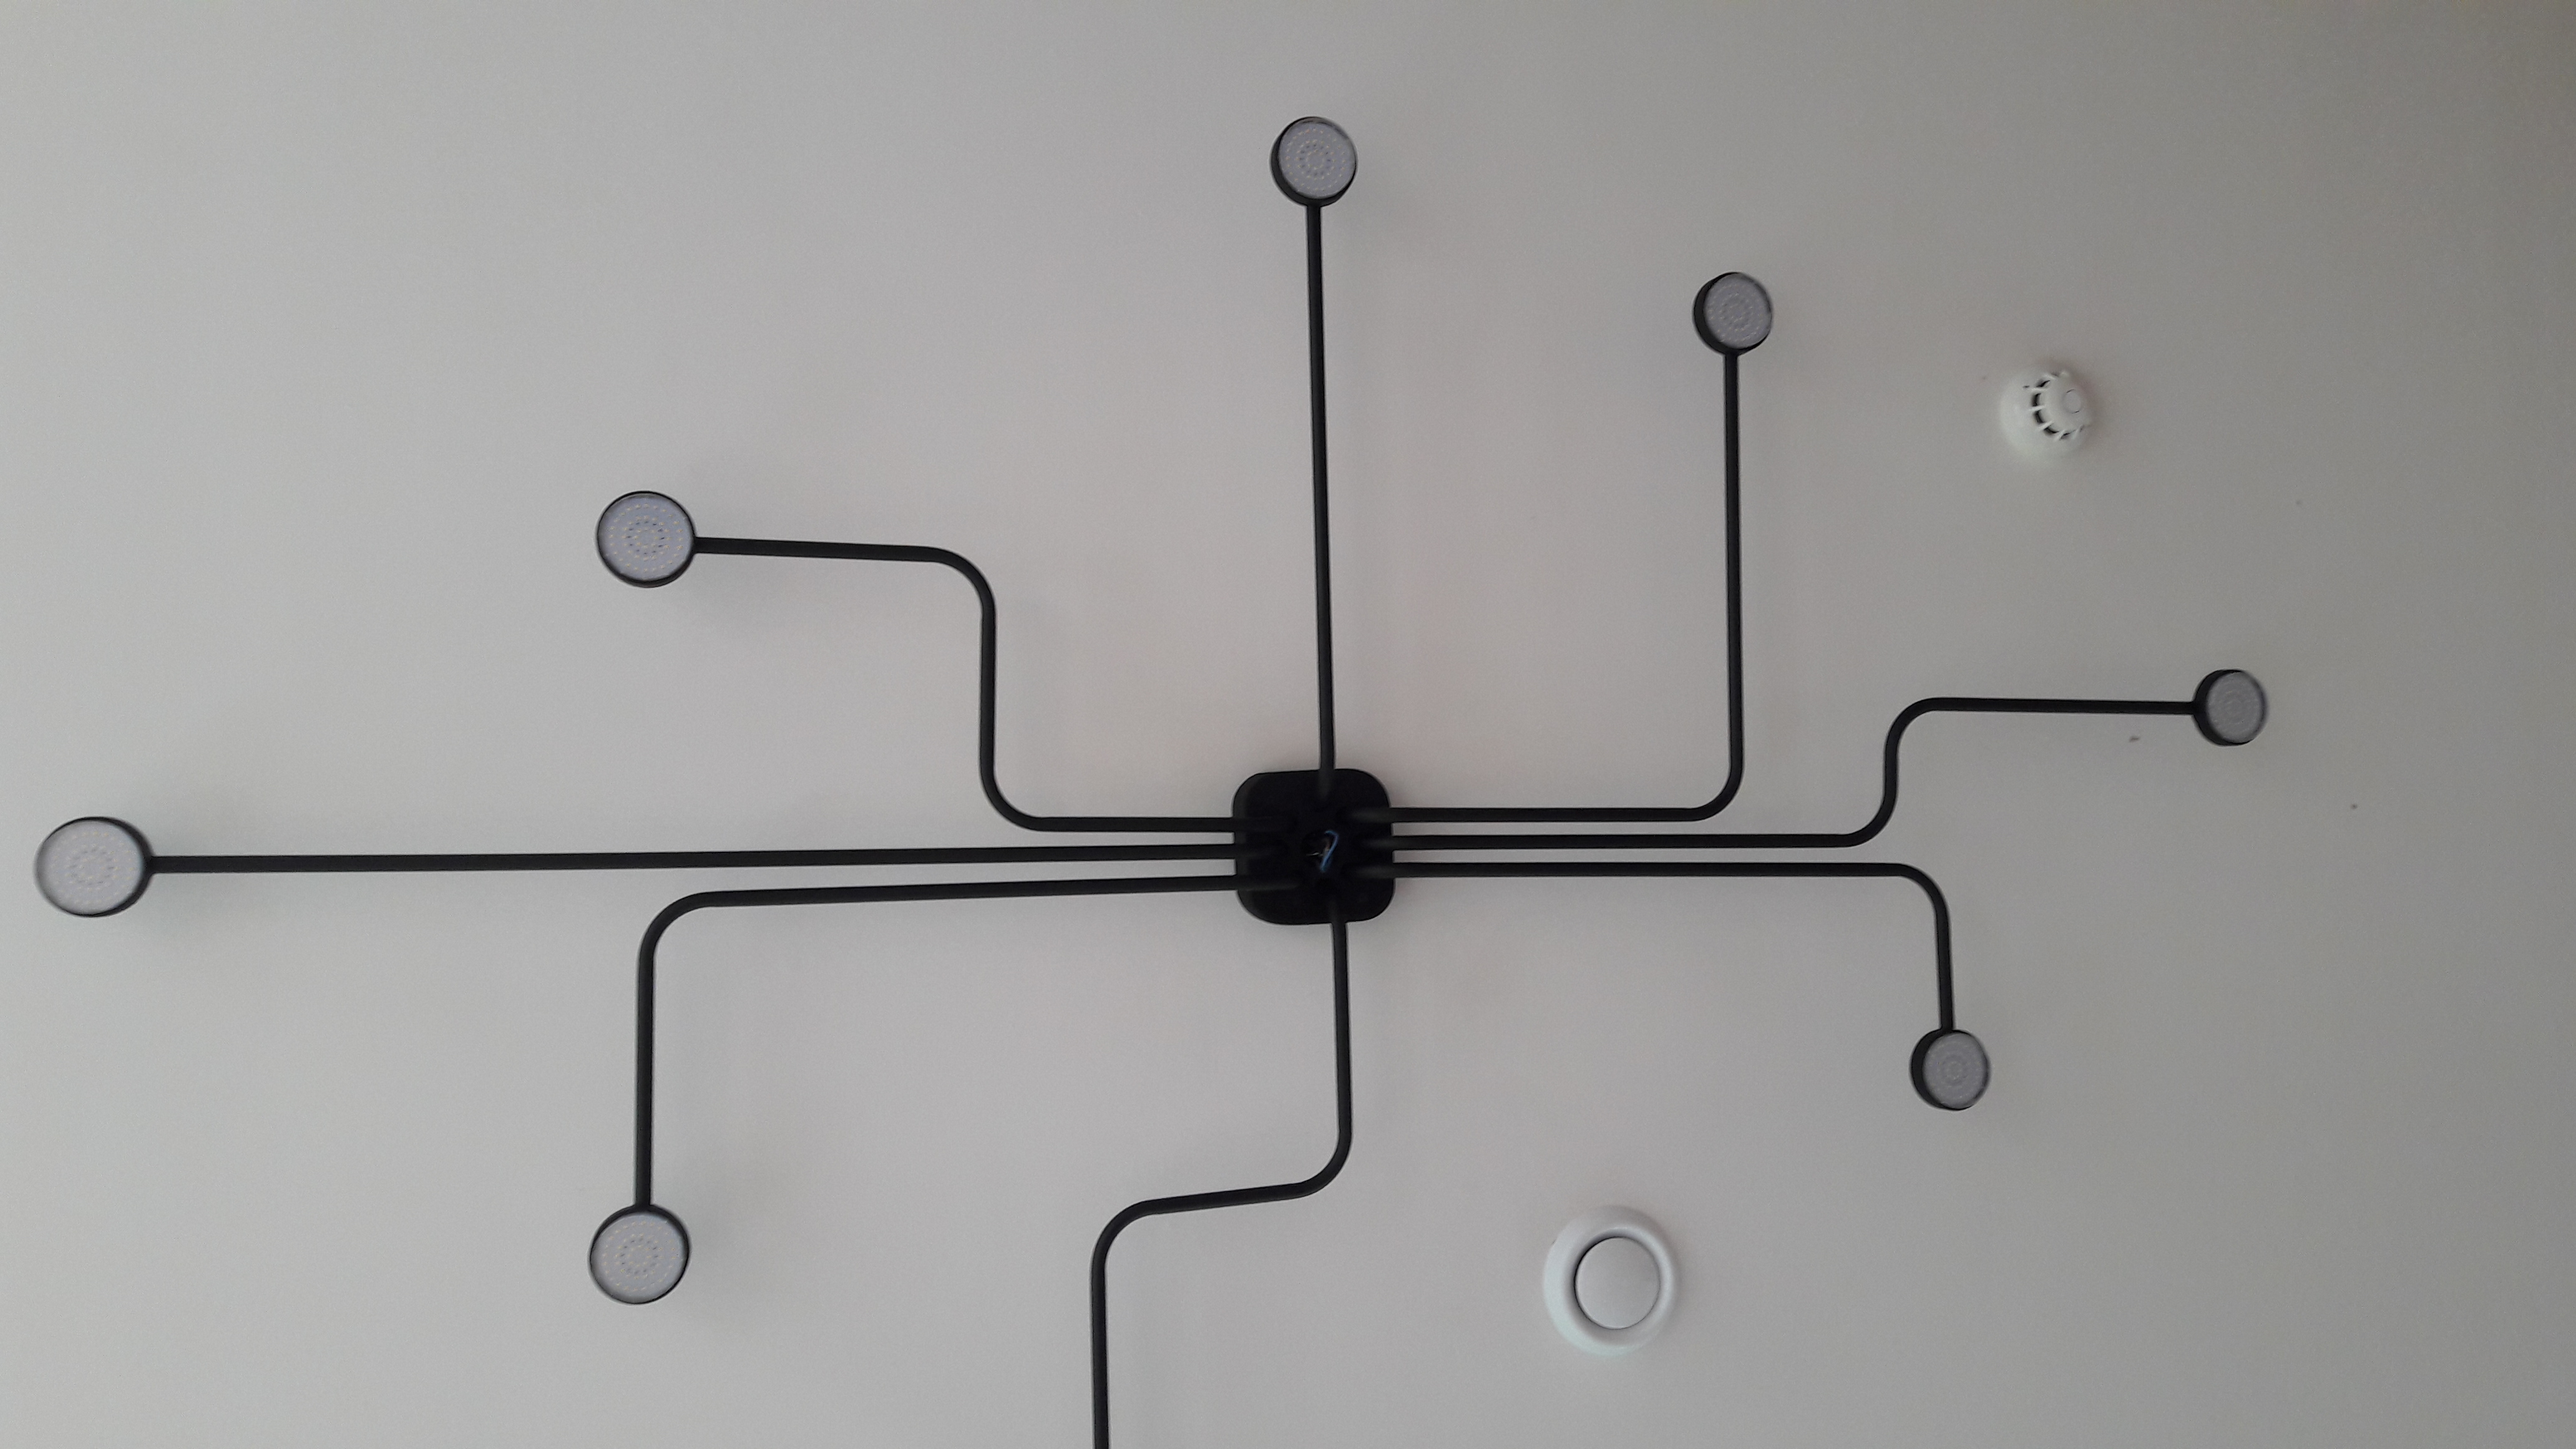
I have to admit I am partial to browsing Pinterest for ideas, and this light fitting caught my eye. I think its great and decided that I had to make a version of  it. Here are the details:
After searching hard for 10mm steel or copper pipe to make the arms, all I could find available were coils of 10mm copper which of course would never look perfectly straight. I then spent some time messing with reclaimed clothes horses from our recycling centre in the hope that the mild steel pipe used in those could be repurposed. Unfortunately it turned out to be too thin to be bent and reformed, so I gave up on that option also. A pity as there sure seems to be a plentiful supply of these in recycling waste.
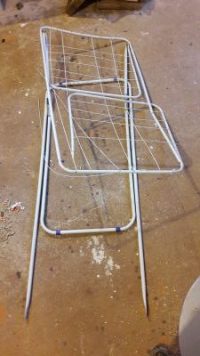
Discarded clothes horse
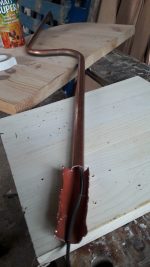
In the end I opted to use regular 1/2inch copper plumbing pipe which comes in 16 foot lengths of which I had some left over but needed to buy one more lenght. It turns out this diameter (about 15mm) is perfect for the proportions of the light fitting, and any narrower would have been difficult to pass electrical cable through. Being copper also meant it was easier to bend smoothly.
I borrowed a pipe bender from a plumber friend…they can be expensive to buy and something you may not use very often, but they certainly do an excellent job of making nice smooth 90 degree bends.

Pipe bender
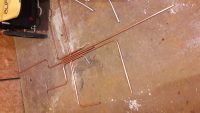
Laying out the sections
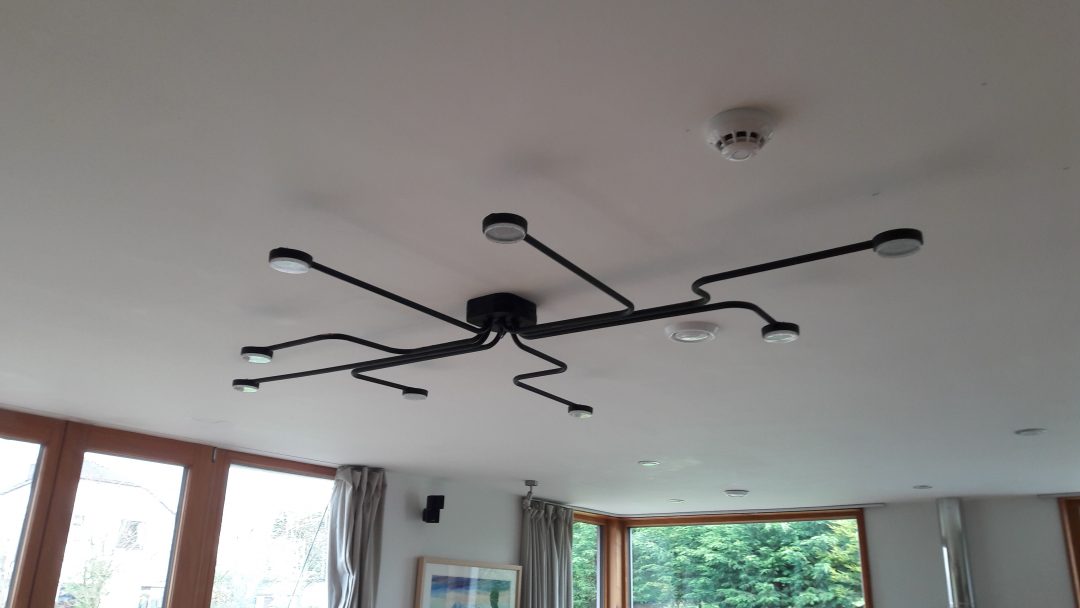
Making the arms was fun and intuitive, with just a little care needed to be mindful of lengths and proportions. The overall fitting needs to fit the ceiling space you have so size the arm lengths appropriately.
For the light fittings I opted to go with GX53 holders and LED bulbs. I am particularly fond of these and have used them throughout our house. They give a more diffuse light and using them for this fitting instead of the standard bulbs shown in the Pinterest image above, means that all the light is directed downwards. I sourced the GX53 fittings and bulbs on Ebay.
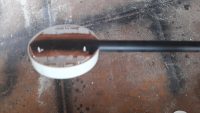
T-cut to create attach point for fittings
Attaching the GX53 fitting
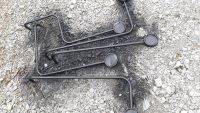
Spray painting the arms before assembly
Attaching the fitting s needed a bit of figuring out. In the end I made a T-cut into the copper pipe at each end point which allowed me to flatten out the copper into a paddle which would serve as an attach point for the fittings. The GX53 fittings come with 4 screw holes allowing them to be mounted easily. It also meant that the fitting could then butt up nicely against the round end of the pipe giving the appearance of a nice seamless connection. The paddle was flexible to allow a little movement in order to align the GX53 bulb in the plane of the fitting.
This was essential given that much of the aesthetic appeal is to do with parallel lines and surfaces.
The centre holder was the part that needed the most thought. It needs to be strong to support the eight arms, as well as containing all the wiring connections and providing a means
to connect the fitting to the ceiling while allowing access to hook up the wires. Note that unlike other fittings, you won’t be wiring this light up as you attached it. It’s big and very cumbersome, so needs to be attached to the ceiling first and then wired in, so you need an access hole to do the final hookup which can be covered over later. I opted for a timber base and used two 1 inch thick squares. In the upper square I cut out a circle to allow space for the wiring connections as well as the tops of the 8 pipes. The lower square then has 8 holes in it to snugly hold the pipe sections and a small central hole through which I connected in the live and neutral at the very end. This is then easily covered up later. These two timber blocks then screw together.
Fitting all the wiring connections into this disk shaped space proved tricky so a bigger base than I made might be useful, but it did work fine. I fed the ceiling live and neutral wires down through the opening in the lower block for easy access after the light was fitted.
A can of spray paint was used for the matt black finish which looked well.
Parts were as follows:
- 2 x15 ft lengths of copper pipe (€15 euros each)
- 8x GX53 light fittings (€30 on Ebay)
- 8x GX53 LED lamps
- Some light wiring – easy to find used bits to do this job just fine.
- 1 can of spray paint
- 2 pieces of timber (for the base)