
Another Light fitting.
We have been getting more enthusiastic lately in the WeMakeDo household about reusing old junk for various purposes, and the interest in light fittings is still in the air. This is the latest ceiling chandelier we made that worked out quite well.
 The idea for this fitting came from a pair of very solid cardboard tubes we came across that were from carpet rolls. These tubes were about 3 inches inner diameter and 4-inch outer diameter, and about 5 feet in length.
I had stored these tubes for a while, waiting for an idea to come along. Eventually, an inspiring design or just impatience usually leads to some creativity.
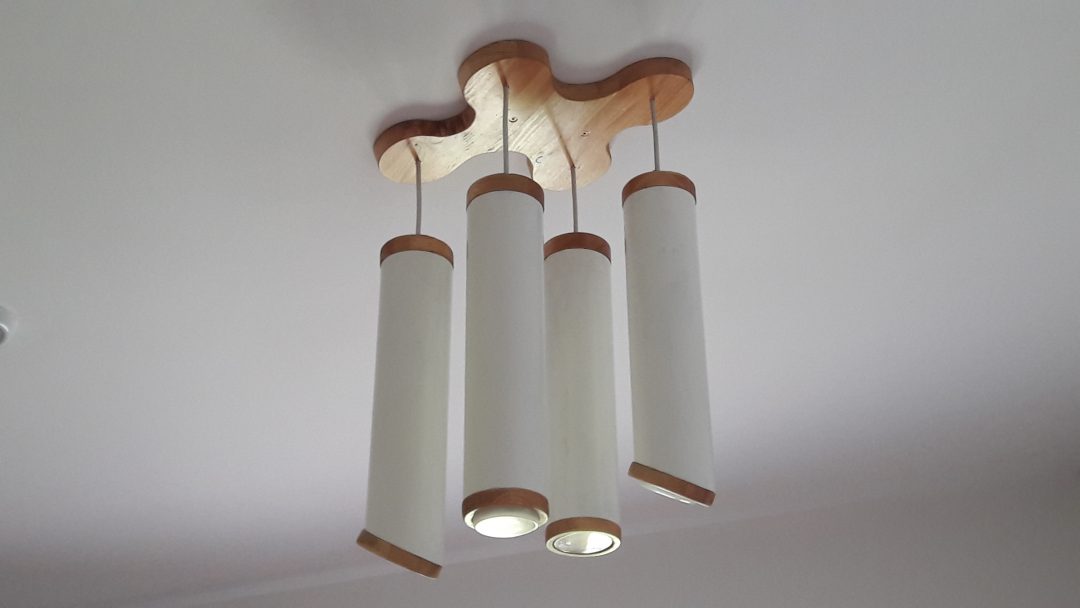
Firstly, I used a standard wood chopsaw to cut up the cardboard tubes into 20-inch lengths. Initially, I cut four identical lengths with perpendicular faces but then opted to cut two with 45-degree cuts for a bit of variety in the appearance. It was also to ensure that the light was not all directed downwards, but that some light was thrown to the sides to give more even room lighting. The strength of these tubes allowed for good clean cuts with nice sharp edges. This diameter tube was a perfect fit for the 3inch diameter GX53 light fittings with LED disc bulbs. These I inserted into the ends and attached using simple silicon adhesive so that the fittings were flush which the cardboard, allowing the bulbs to stick out.
Some white gloss paint took well to the cardboard surface to finish these sections off.
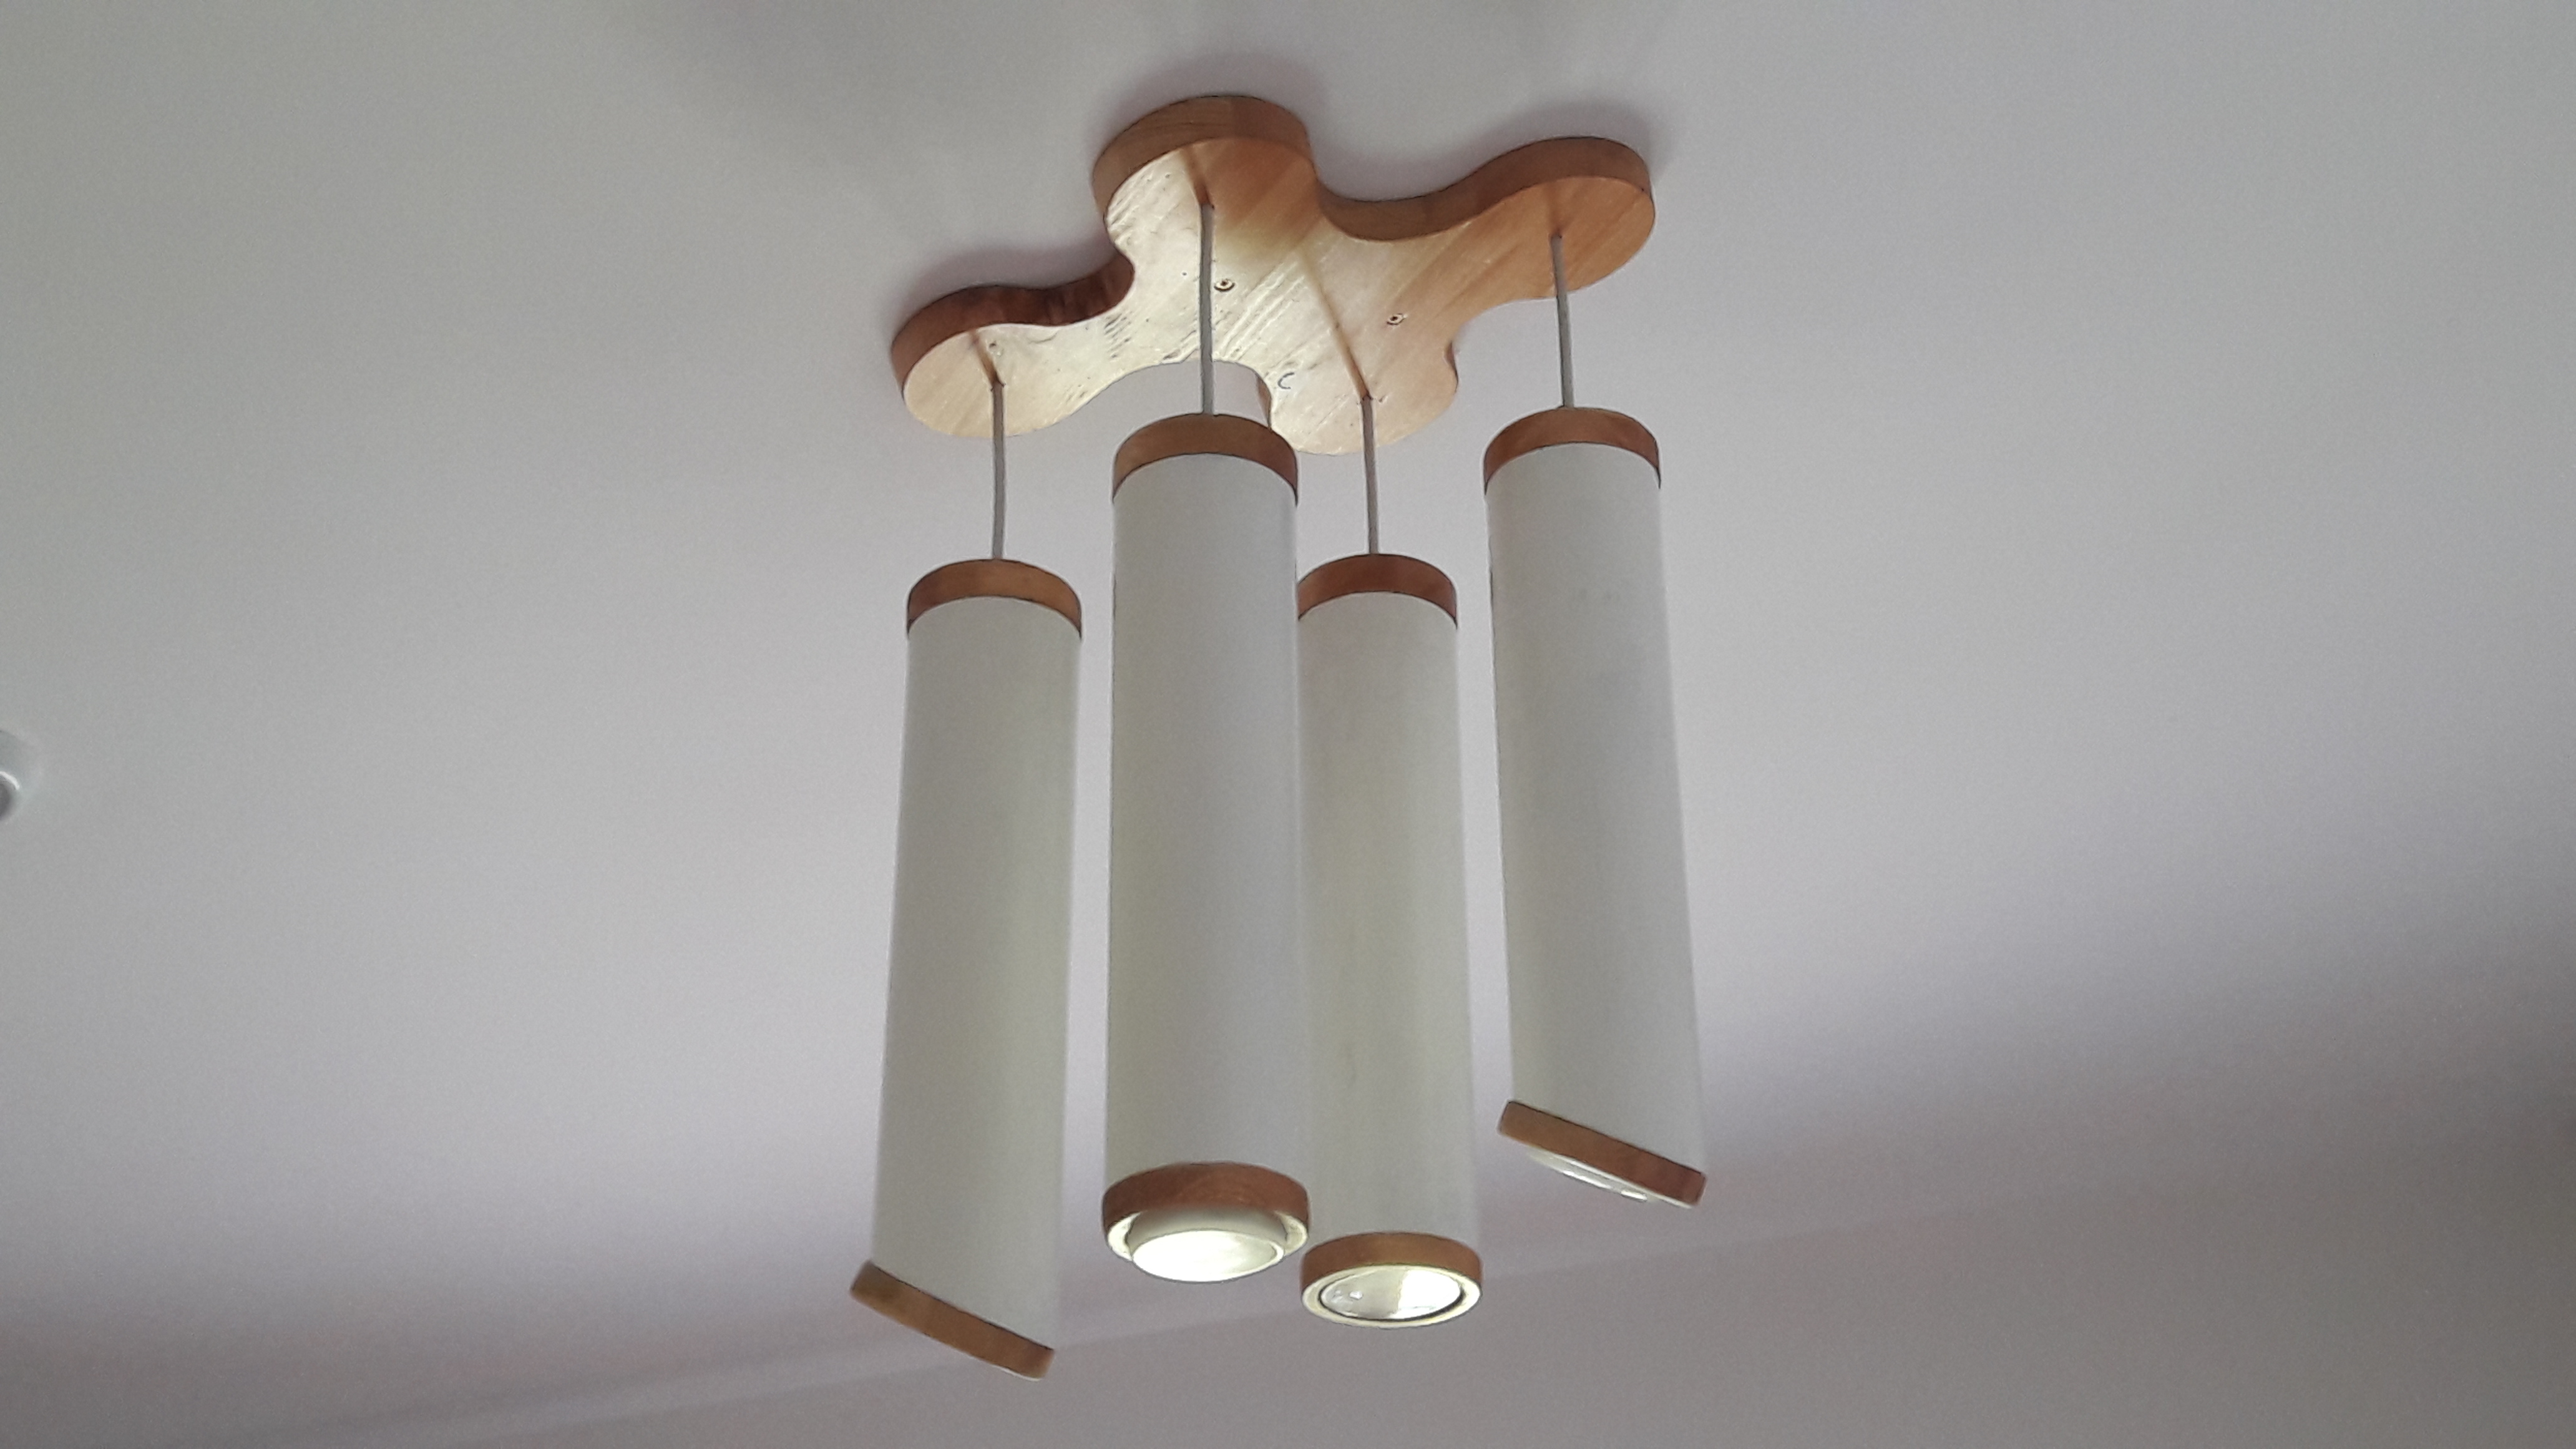
Next came the lamp base – just a jigsaw cut in an offcut of 1inch thick lamwood (this is the name sometimes used for sheets of red deal timber made by glueing lengths together) I had lying around. I opted to size this base in similar dimensions to the tubes themselves, i.e. circular areas were just a little bigger than the 4-inch outer diameter of the tubes. In hindsight, I probably should have made the base quite a bit bigger, just because it seemed a little small when I hung that fitting. I liked the natural look of the base so opted to varnish this instead of painting it to preserve the wood grain appearance.
With a wooden base, the tubes needed a little more, so a holesaw was used to fashion circular covers in 1-inch timber for the top of each tube, varnished and attached using two screws into the cardboard which would not be visible on the topside. Then for balance, the exposed bulbs on the lower end needed some timber also, so similar timber circles were used with the inners cut out using a jigsaw. Lots of sanding and some varnish resulted in some nice smooth accents to the GX53 bulbs which were attached with silicone to avoid the unsightly appearance of screws. The 45 degree ends proved to be quite challenging to get the dimensions right for these lower bulb surrounds, as a circular hole- saw was no use for these cuts and freehand cutting was needed.
You’ll notice that some of the bulbs are recessed slightly and some stick out in the image – this is because CFL bulbs of this type are much thicker than LED versions so we are still playing with the bulb types to get the best lighting in the bedroom we hung this in.
The white flex was harvested from a couple of toasters in our local recycling centre.
